Contouring and Highlighting Techniques to Enhance the Face
The Art of Enhancing Your Features
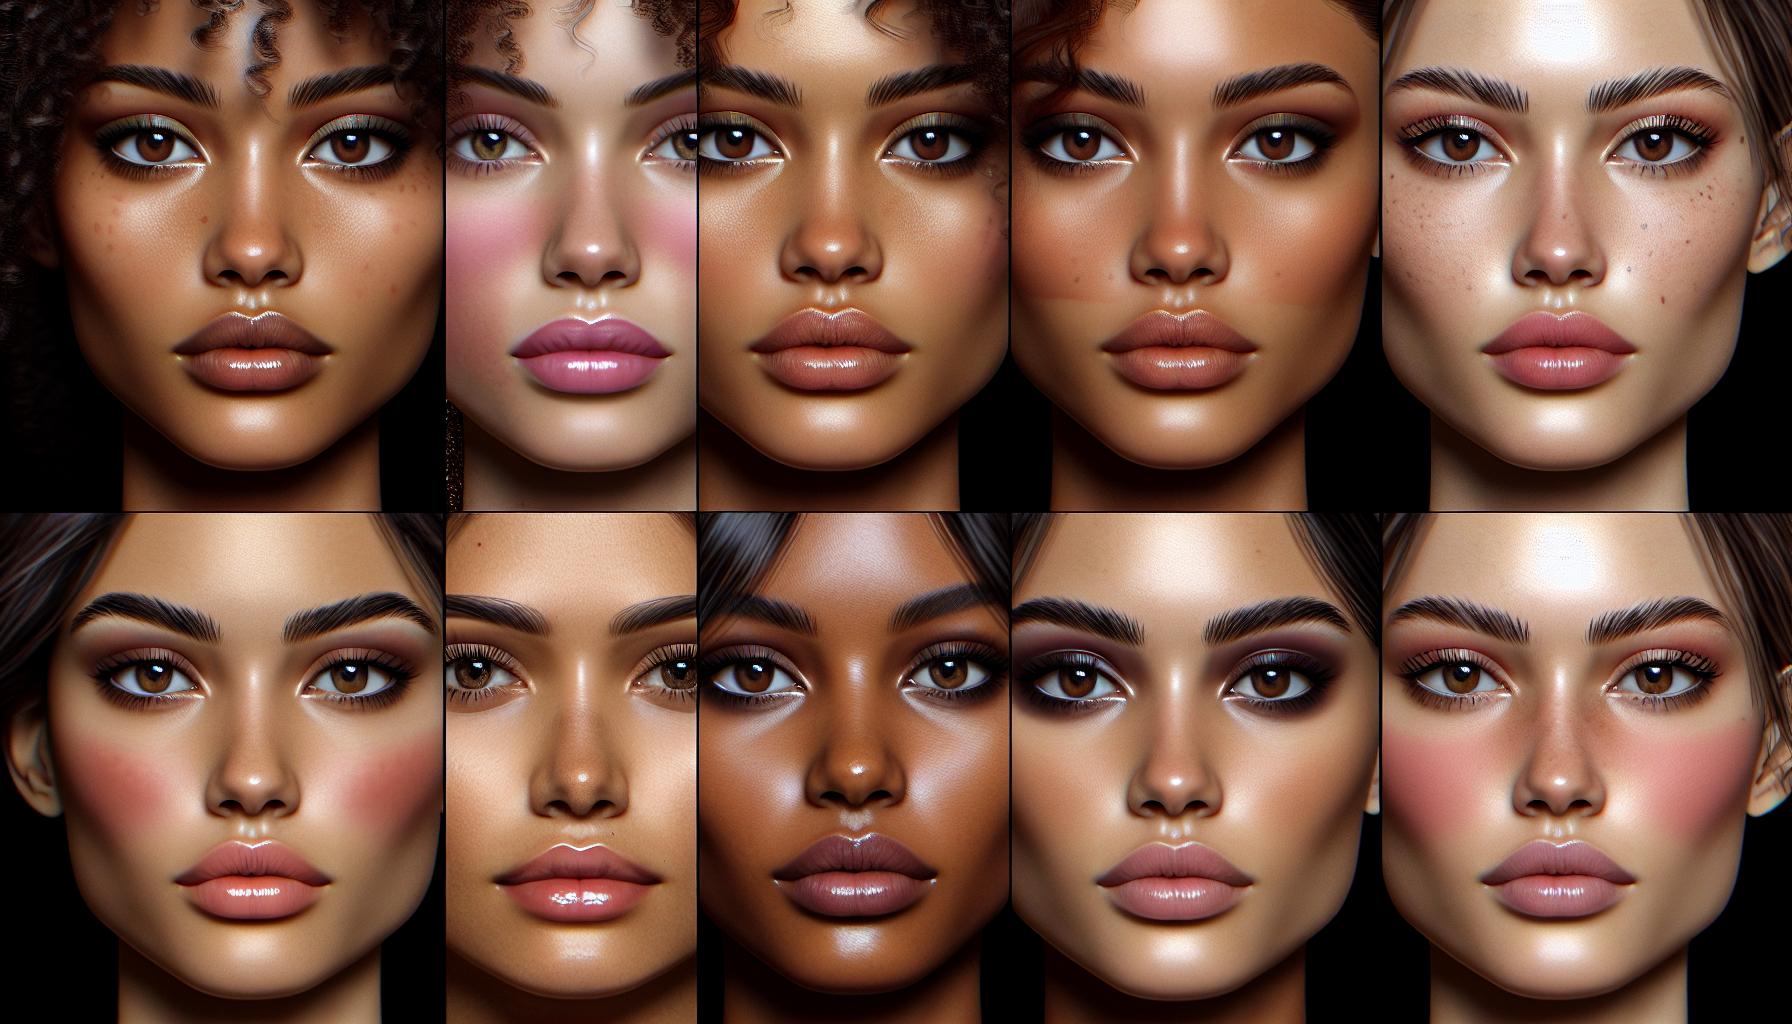
Makeup has transcended its traditional role of simply beautifying the face; it has evolved into an essential medium for self-expression and creative exploration. Among the myriad techniques available to makeup enthusiasts, contouring and highlighting stand out as particularly powerful methods for sculpting the face and emphasizing its natural beauty, creating a mesmerizing visual transformation.
Both techniques offer more than just aesthetic enhancement; they can imbue users with confidence and a youthful glow that typical makeup applications may struggle to achieve. Understanding the nuances of these methods is crucial for anyone looking to elevate their makeup skills. Here are some fundamental aspects to grasp:
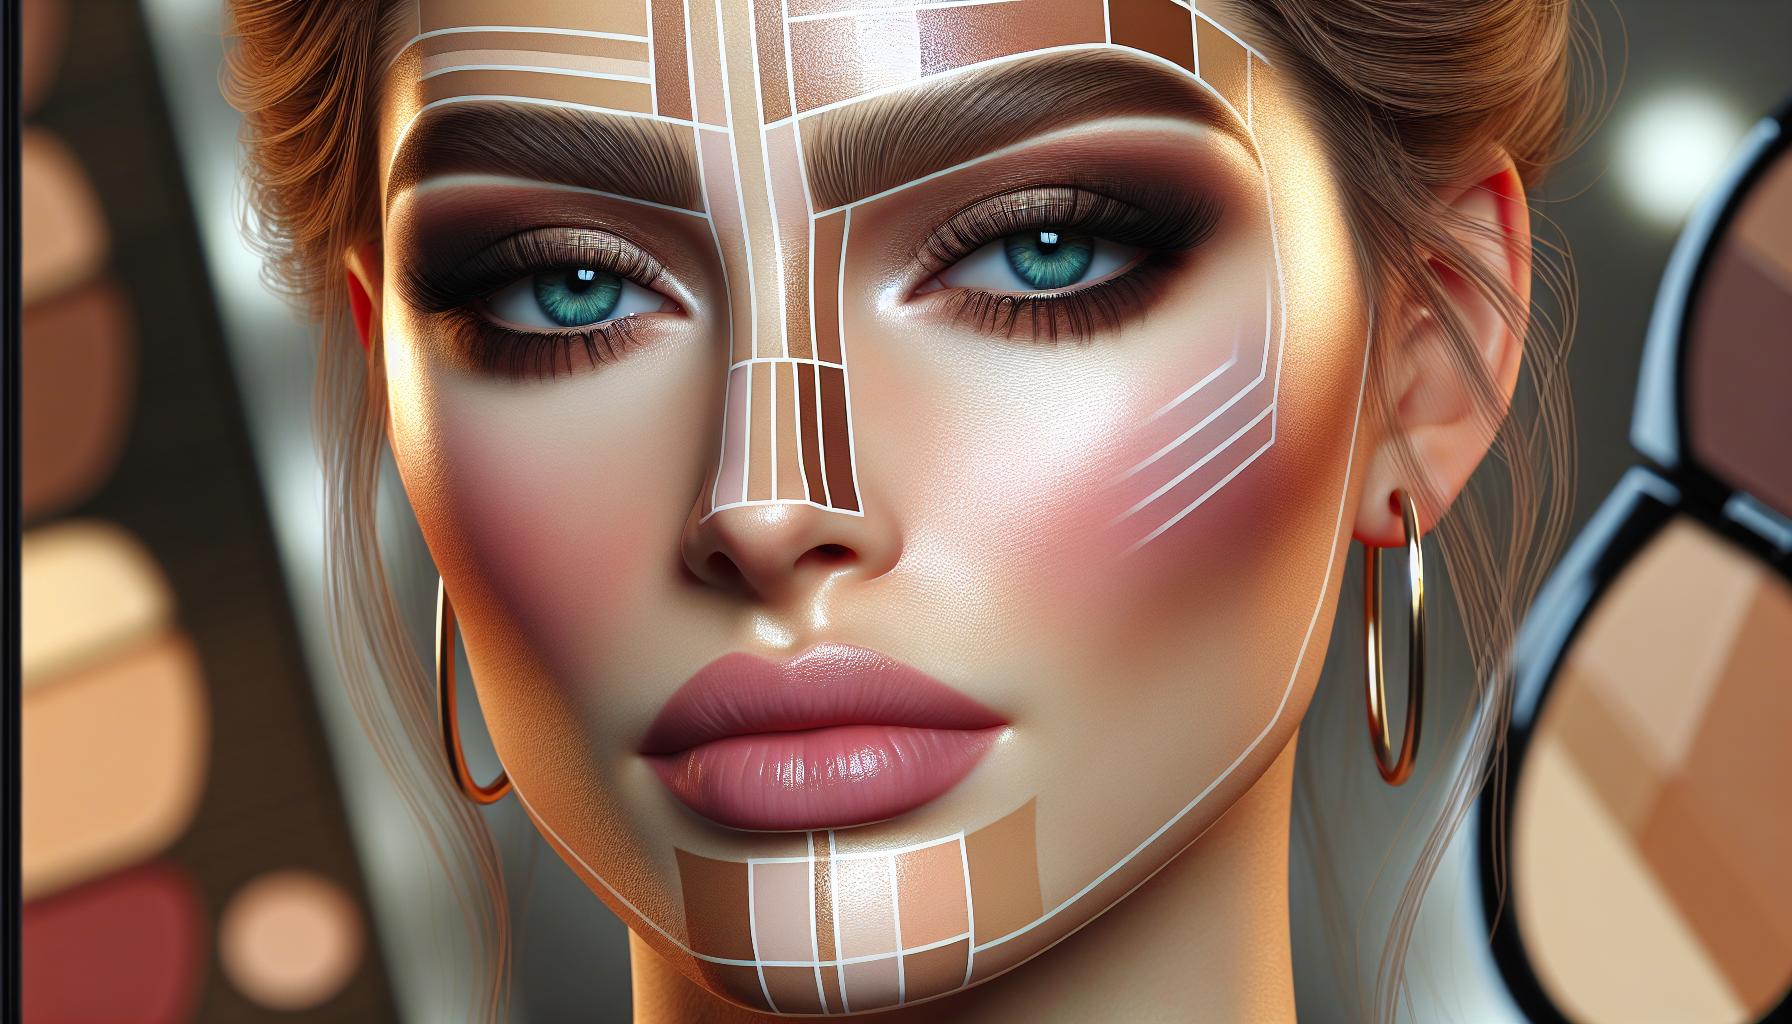
- Contouring: This technique employs darker shades to create illusions of depth and shadow, carving out defined cheekbones, a more refined jawline, and a slimmer nose. For instance, to contour the nose, you can apply a matte bronzer along the sides of your nose, blending it in well to avoid stark lines. This creates the perception of a narrower nose, enhancing your overall facial symmetry.
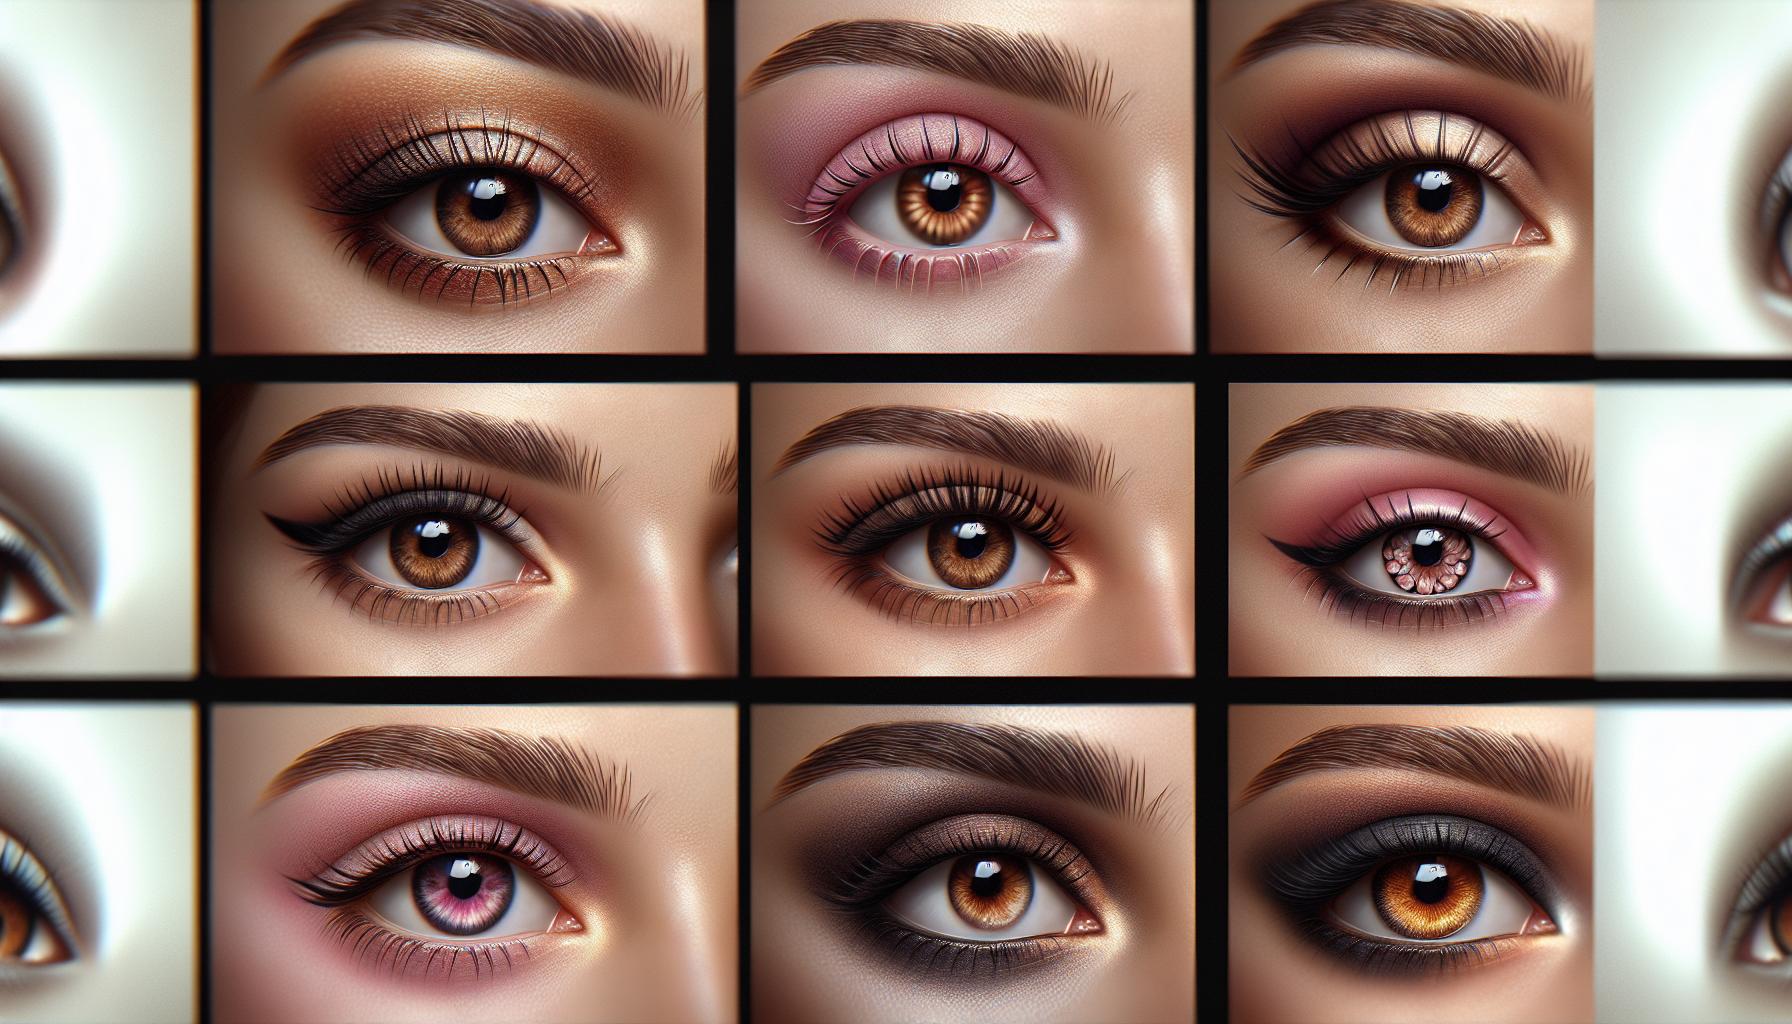
- Highlighting: In stark contrast, lighter shades are strategically placed on areas that naturally catch light, such as the cheekbones, brow bone, and the bridge of the nose. A popular method is to use a liquid highlighter for a dewy finish, which can be particularly appealing on warmer days or during the summer months, offering a fresh and radiant look.
- Balance: The true skill lies in mastering the balance between contouring and highlighting. Adept blending of these elements creates a harmonious effect. Avoiding harsh lines is imperative, as this can result in an unnatural appearance. Remember, makeup should enhance your features, not obscure them.
This guide aims to explore a variety of techniques, products, and tailored tips for different face shapes and skin types, providing options that cater to everyone from makeup novices to seasoned enthusiasts. For example, for those with round faces, contouring the sides of the forehead can create the illusion of elongation, while those with more angular features may benefit from soft highlights that add warmth rather than sharpness.
As you prepare to delve deeper into the world of contouring and highlighting, get ready to unlock the secrets to easily enhancing your features. By embracing these techniques, you can discover new dimensions of beauty, empowering you to express yourself with creativity and confidence.
LEARN MORE: Click here to discover the effects of stress on your skin
Mastering the Basics of Contouring and Highlighting
Before diving into advanced techniques, it is essential to understand the foundational components of contouring and highlighting. These methods rely on the principles of light and shadow, much like an artist uses colors to give depth to a painting. When done correctly, they can enhance your natural features, impart a refined freshness, and enhance your overall aesthetic appeal.
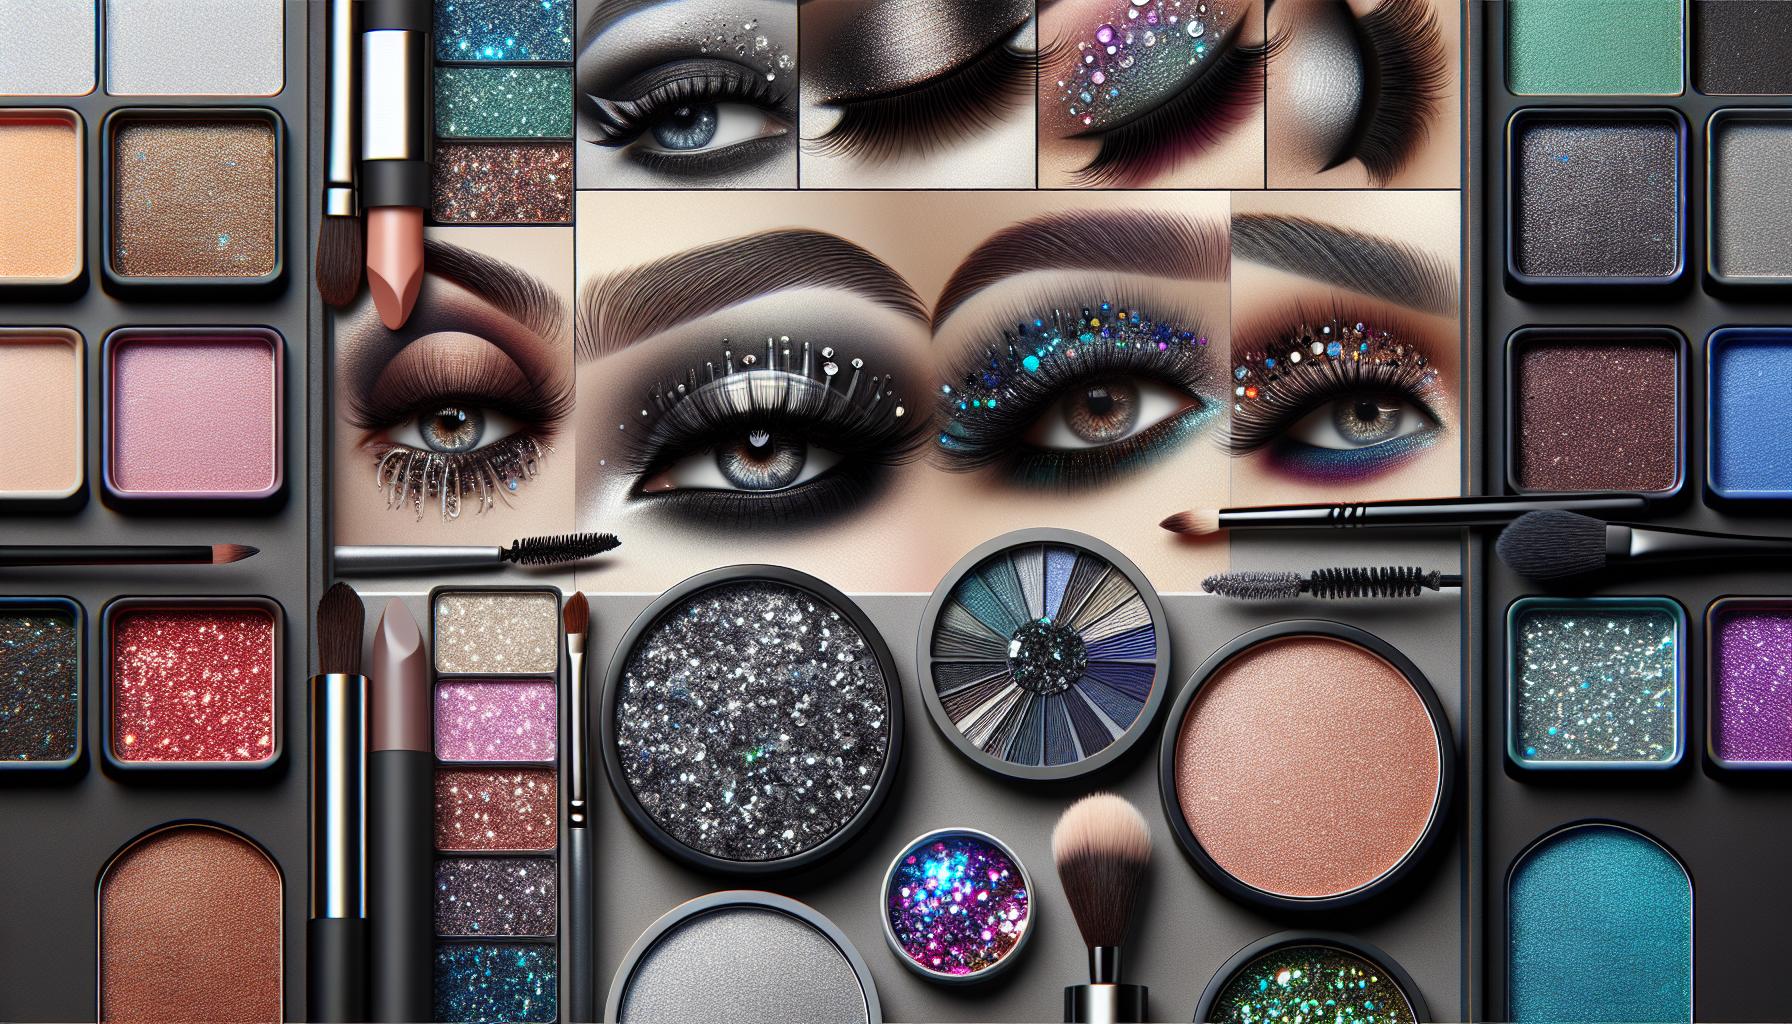
To kickstart your contouring journey, it’s vital to select the right products suited to your skin type and tone. There are numerous formulations on the market—from creamy sticks to powder compacts. Here’s a breakdown:
- Powder Contouring: Ideal for oily skin types as it helps absorb excess oil and provides a matte finish. Use a soft, angled brush to apply the product, concentrating on the hollows of the cheeks and along the jawline.
- Cream Contouring: Perfect for dry or mature skin, as it offers a more hydrating finish and makes blending easier. These products glide effortlessly on the skin, providing a seamless look when blended with a beauty sponge.
- Liquid Highlighters: Known for their ability to provide a dewy finish, liquid highlighters can be mixed with foundation or applied directly to the skin. They are especially popular for creating a natural, glowing complexion during warmer seasons.
- Stick Highlighters: Convenient and portable, stick highlighters are easy to apply and ideal for on-the-go touch-ups. However, they may require careful blending to avoid a streaky appearance.
In addition to product selection, understanding your face shape is crucial. Different shapes demand tailored contouring techniques to create balance and harmony. For instance, individuals with heart-shaped faces might focus contouring on the jawline to widen it, while those with oval faces can emphasize the cheekbones without much need for correction. Here’s a quick breakdown of how to contour based on common face shapes:
- Round Face: Apply contour along the sides of the forehead and under the cheekbones to create the illusion of length.
- Square Face: Soften angular features by applying contour on the cheeks and sides of the forehead, focusing on an upward blend.
- Long Face: Contour on the sides of the forehead and chin to create balance, while a focus on highlighting the center of the forehead enhances the shortness of the face.
- Diamond Face: Highlight the forehead and chin while contouring the sides of the cheeks to alleviate sharp angles.
As you progress, practice is essential. Every face is unique, and finding the right balance through trial and error is part of the fun. By taking the time to experiment with different techniques, products, and applications, you can truly discover what works best for your individual features and personal style.
| Technique | Benefits |
|---|---|
| Cream Contouring | Offers higher blendability and a dewy finish, allowing for seamless application that enhances natural features. |
| Highlighting with Stick | Provides targeted luminosity with easy application, perfect for creating a radiant glow on cheekbones and the bridge of the nose. |
| Powder Contouring | Ideal for setting makeup, this technique adds defined structure and is suitable for oily skin types. |
| Liquid Highlighter | Easily mixable with foundation for an all-over glow, enhancing a youthful appearance while providing an easy layering option. |
| Baking Technique | Helps to set concealer while enhancing brightness under the eyes, leading to a flawless finish that lasts all day. |
Contouring and highlighting techniques not only sculpt the face but also emphasize its best features. By understanding the different methods available, from cream to powder, one can achieve a variety of looks tailored to any occasion. The benefits of these techniques extend beyond aesthetics, giving individuals the power to express creativity and confidence through their makeup choices. Each approach has its unique advantages, allowing buyers to select what best aligns with their skin type and desired finish. Investigating these options further can unveil even more possibilities for personal expression and style evolution.
DISCOVER MORE: Click here to unlock the secrets of authentic natural ingredients in beauty products!
Advanced Techniques for Flawless Application
Once you’ve mastered the basics of contouring and highlighting, it’s time to explore some advanced techniques that can elevate your makeup game to a professional level. These techniques not only enhance your features but also ensure that your makeup looks seamless and natural, providing a gorgeous finish that lasts throughout the day.
One popular advanced technique is the use of the “baking” method, which involves applying a generous amount of translucent powder over areas where you’ve applied concealer. This process allows the heat from your skin to set the makeup, creating a flawless, airbrushed finish. While this technique is commonly used under the eyes, it can also be applied to the jawline, forehead, or anywhere you desire a crisp, defined look. For best results, let the powder sit for about 10-15 minutes before gently dusting off the excess.
Another effective technique is the “reverse contouring” method, where you highlight before contouring. This technique can be particularly useful for those looking to achieve a more natural glow. Instead of first applying contour to create shadows, you can start by highlighting the areas of your face you want to bring forward, such as the cheekbones, brow bones, and bridge of the nose. Once you’ve applied your highlighter, follow up with a subtle contour on the sides of the face and under the jawline to create depth without heavy shadows. This technique makes blending easier, resulting in a soft and luminous look.
For those looking for versatile options, consider using a cream-to-powder formula for both contouring and highlighting. This product allows for easy layering and blending, giving you the flexibility to create an array of looks—from a natural day finish to a more dramatic evening glam. When applying these products, use a damp beauty sponge to melt the formula into the skin for the most seamless finish.
Color Theory in Contouring and Highlighting
A deeper understanding of color theory can also enhance your contouring and highlighting techniques. Different skin tones will require slightly varied hues for a harmonious look. For instance, warmer undertones may benefit from golden or peach-colored highlighters, while cooler undertones will shine with pink or silver highlights. Additionally, contour shades should be one or two shades darker than your natural skin tone, ensuring they add definition without creating an obvious color difference.
Furthermore, the application of contour and highlighter varies by time of day and lighting, so it’s essential to consider your environment. Natural light can often wash out a look, while indoor lighting can be too harsh. A good trick is to step outside after application to check how the contours and highlights play with natural light, making adjustments as necessary for the most flattering effect.
Tools of the Trade
A well-rounded collection of tools can make a significant difference in your contouring and highlighting efforts. The quality of brushes and sponges can affect application and blending considerably. Opt for a variety of brushes, including dense, flat brushes for cream products and fluffy brushes for powders. Sponges should also be on your checklist, especially those with pointed ends for precise application and rounded edges for gentle blending.
To elevate your skills further, attending a makeup workshop or watching online tutorials can provide valuable insights. Many professional makeup artists share their secrets on social media platforms, offering step-by-step guidance in real time. Engaging with these resources can inspire creativity and help you discover unique methods to enhance your natural beauty through contouring and highlighting.
DIVE DEEPER: Click here to discover the impact of stress on your skin
Conclusion: Mastering the Art of Contouring and Highlighting
In conclusion, mastering the art of contouring and highlighting is a transformative journey that empowers individuals to enhance their natural beauty. Armed with both fundamental and advanced techniques, you can sculpt and illuminate your face to achieve your desired look. Whether utilizing methods like baking to set your makeup, experimenting with reverse contouring for a more radiant finish, or understanding color theory for a harmonious application tailored to your skin tone, each technique opens up a world of possibilities.
Furthermore, the importance of quality tools cannot be overstated. Investing in the right brushes and sponges enables a smoother application and better blending, essential for creating that flawless finish. Remember that practice is crucial; the more you experiment with these techniques, the more confidence you’ll gain in your abilities.
As you refine your contouring and highlighting skills, don’t hesitate to explore tutorials and workshops offered by seasoned makeup artists. This can not only expand your knowledge but inspire creativity, helping you discover unique and personalized methods to express yourself through makeup. With the right techniques and tools at your disposal, you can enhance your features beautifully and authentically, allowing your inner glow to shine through.
Embark on this exciting beautification adventure, and as you do, remember that the ultimate goal is to feel empowered and confident in your skin.